


Turning a Standard Bath into a Custom Space

A few months back I was contacted by the lovely Casey family, who were seeking some advice on their powder bath. They knew they wanted to change the flooring and give the bathroom some "wow" factor, but like so many others, they weren't sure where to start. The Casey's have two small boys - and as is the case with most little boys I know - they are active. Therefore durability was a big factor.
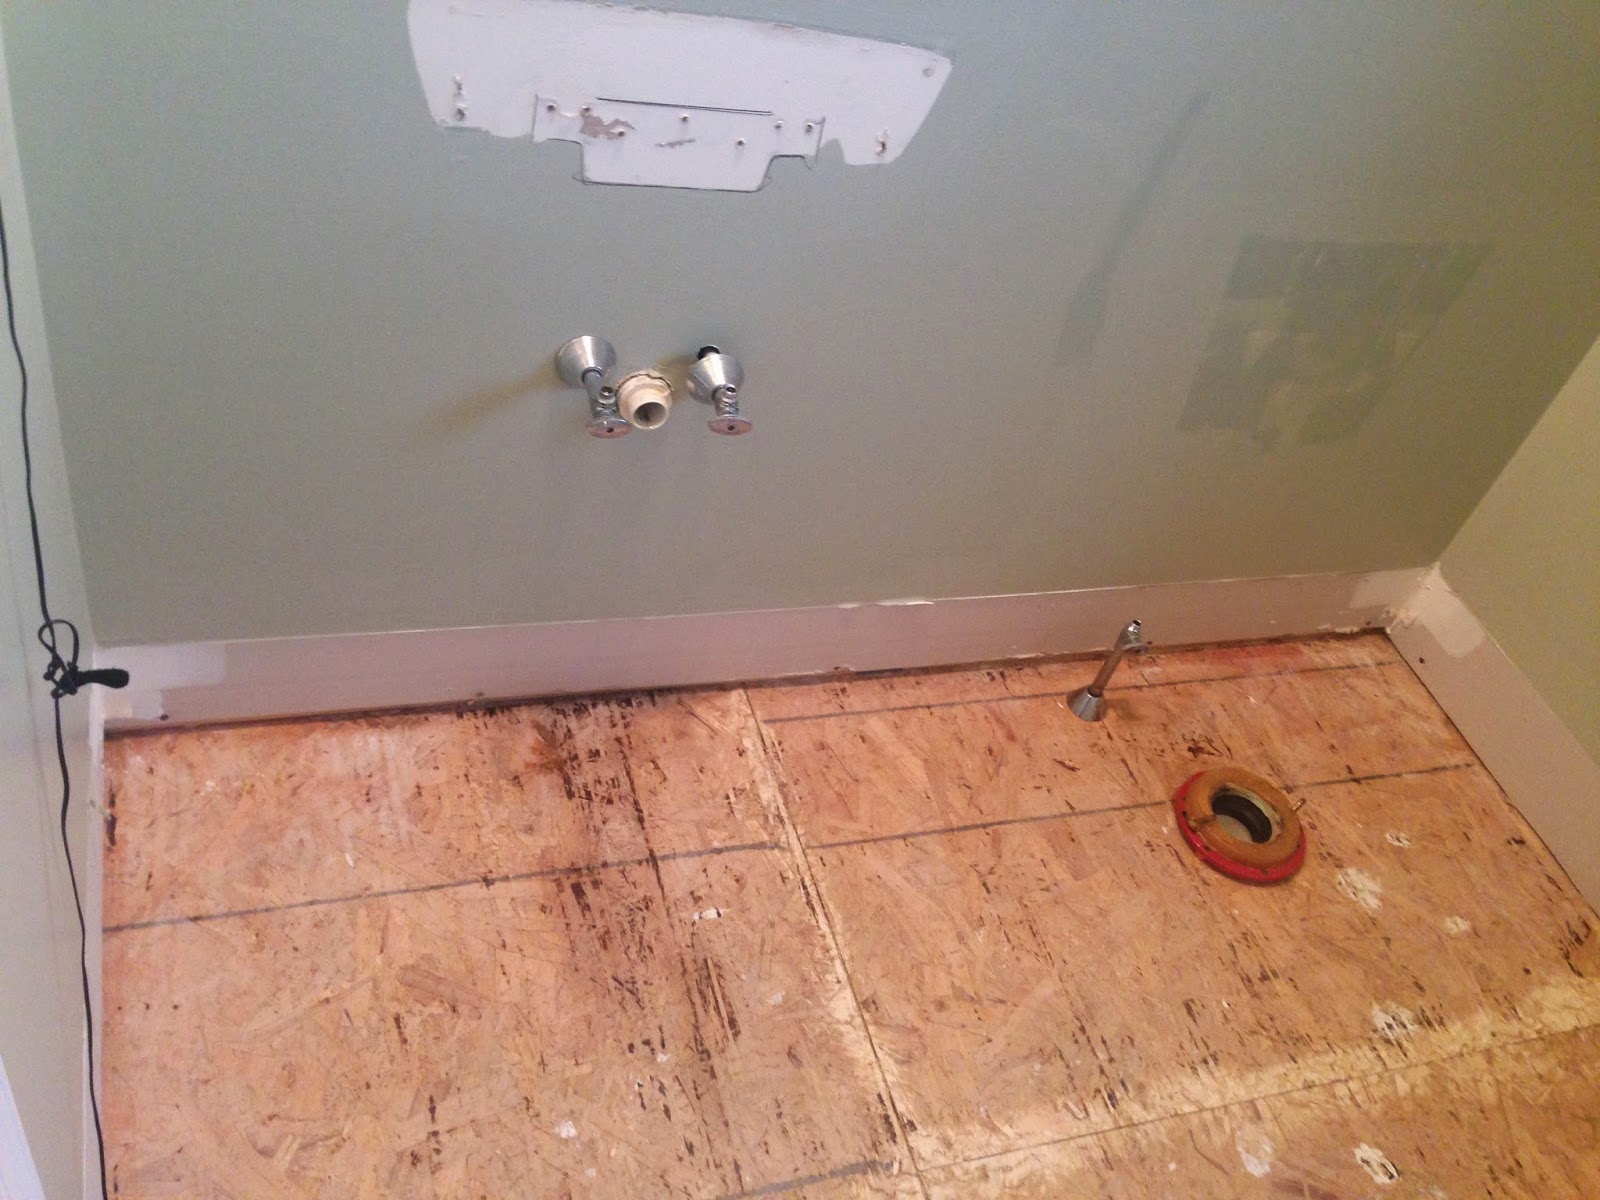
Just a few months prior, they had the bathroom painted and even bought a new valence. But they just felt it needed a little something more. Their biggest complaint....FLOORING. The majority of their home has wood flooring (which they love) but they just didn't love it in their bathroom. Have a look at the BEFORE:

So - the three big factors I had to work with for this project:
(1) BUDGET - Like most projects, these clients had a budget they had to work within so the changes we made had to be minimal in cost but impactful in design.
(2) STYLE - This family is very traditional in their style and prefer timeless over trendy. Can't say I blame them there.
(3) DURABILITY - The powder bath is the Casey's only bathroom on the main floor. Their boys use it constantly as does company and guests. Bottom line...there is constant traffic so the material needs to be durable. Period.
I started the plan for the powder bath by selecting multi-color slate in 4x4 pieces, on 12x12 mesh. The Casey's loved the look and I felt it would tie in their recently painted walls while offering some depth in tone and texture.
 |
| MOSIAC Slate |

After the demo, it was onto laying the tile. I love how the slate ties into the wood flooring and offers some contrasting material...


The grout color we used is medium in tone. It's a gray/beige color and will do well in hiding dirt and traffic. Next it was onto the wainscoting. We went with a traditional look and a chair rail to separate the wall space.

We also aded a crown molding for minimal cost and it really finished off the look of the room...

So - here are the finished pics (taken with just my iPhone - sorry if they aren't the best quality)...we are really happy with the way everything turned out. The client's love the new look to their bathroom and so do their adorable little boys...


For more of my Mini-Makeover projects --- check these out:


What a gorgeous makeover!! I am sharing your FB page tomorrow morning, and this gorgeous makeover. Thanks! -Karen from Redouxinteriors
ReplyDeleteThank you so much Karen! Appreciate the love :)
DeleteLaura,
ReplyDeleteI will be sharing your page on Friday. I love the way you made this bathroom practical and stylish.
Great Work,
Karen marie
Dragonfly & Lily Pads
You are too kind! Thank you so much!!!
DeleteLove, love, love it!
ReplyDelete